Free & DIY Solutions
You don't need to spend a dollar to lose weight. Mental tracking, paper logs, daily progress photos, and free apps can be just as effective as premium tools — if you're consistent.
The $0 Weight Loss Toolkit
Every paid tool in this section has a free alternative. A smart scale is nice, but a $5 bathroom scale from a thrift store tells you the same number. An app is convenient, but a piece of paper and a pen track the same data. The only tool you truly need is awareness.
💡 Consistency Beats Equipment
Someone who weighs themselves daily on a $5 scale and writes it in a notebook will outperform someone who bought a $150 smart scale and stopped using it after two weeks. The tool doesn't matter if you don't use it.
Mental Calorie Tracking
This is the most underrated approach. Once you've spent a few weeks logging food in an app, you start internalizing calorie counts. A chicken breast? ~165 calories. A cup of rice? ~200 calories. A tablespoon of olive oil? ~120 calories. At some point, you can run rough estimates in your head.
How to make mental tracking work:
- Learn your top 20 foods. Most people eat the same foods repeatedly. Memorize the calorie counts for your personal rotation. That covers 80% of your intake.
- Round to the nearest 50. Don't stress about whether your apple was 72 or 95 calories. Call it 100 and move on. Directional accuracy beats false precision.
- Keep a running total. After each meal, mentally update your daily total. "Breakfast was ~400, lunch was ~500, that's ~900. I have 600 left for dinner and a snack."
- Bank calories for big meals. If dinner is going to be large, eat lighter earlier. Mental math makes this intuitive once you have the numbers down.
⚠️ Calibrate First
Mental tracking only works after you've spent time with measured tracking. If you've never weighed or logged food before, start with an app or paper journal for at least 4-6 weeks to build your calorie intuition. Skipping calibration leads to systematic underestimation.
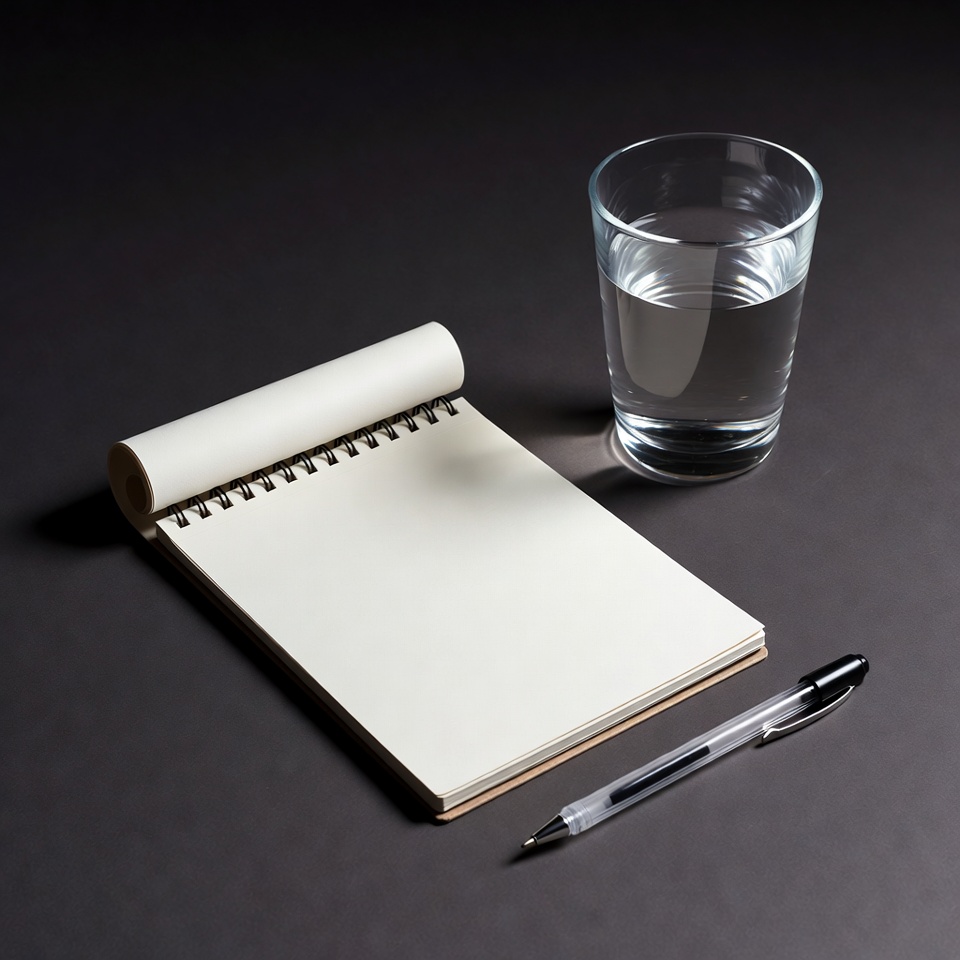
Paper Tracking
All you need: a piece of paper, a pen, and Google for calorie lookups. Write down everything you eat, look up the calories, and add them up at the end of the day. Simple. Free. Effective.
The minimal paper system:
Tuesday, March 18
Target: 1,800 cal
―――――――――――――――
8am — 2 eggs scrambled (140) + toast (80) + butter (50) = 270
12pm — Turkey sandwich (350) + apple (95) = 445
3pm — Greek yogurt (100) + handful almonds (170) = 270
7pm — Chicken breast (165) + rice 1c (200) + broccoli (55) + oil (120) = 540
―――――――――――――――
Total: 1,525 — Under by 275 ✓
That's it. No subscription. No app. No account. Just a piece of paper and 5 minutes a day.
Daily Progress Photos
The scale lies — or at least, it doesn't tell the whole story. Water retention, muscle gain, hormonal fluctuations, and food timing all affect the number. Progress photos are the most honest tracking tool. You can gain 3 lbs of muscle while losing 5 lbs of fat and look dramatically different despite the scale barely moving.
How to Take Useful Progress Photos
- Same time, every day. Morning, after using the bathroom, before eating. This eliminates food and water weight variation.
- Same position. Front, side, and back. Stand naturally — don't flex, don't suck in, don't pose. You're documenting reality.
- Same location and lighting. Pick one spot in your home with consistent light. Natural light from a window is best. Overhead gym lighting creates dramatic shadows that mask (or exaggerate) changes.
- Same clothing. Underwear or fitted athletic wear. Loose clothing hides changes.
- Use a timer or tripod. Mirror selfies introduce angle variation. A phone on a timer, mounted at chest height, produces consistent framing every time.
🎯 Compare Monthly, Not Daily
Take photos daily but compare them 30 days apart. Day-to-day changes are invisible. Month-to-month changes are unmistakable. Create a side-by-side at the end of each month.
Budget Photo Setup
You don't need a professional photo studio. A smartphone + a $15 tripod + a window is all it takes. Here's the affordable gear that makes daily photos effortless:
Phone Tripod with Remote
Full-height tripod with a phone mount and Bluetooth remote shutter. Set it up once, mark the floor position with tape, and you get identical framing every morning in 10 seconds.
Shop on Amazon →Phone Tripod Mount Adapter
If you already have a tripod, this adapter mounts any phone to a standard 1/4-20 thread. Works with cases. Under $10.
Shop on Amazon →Selfie Stick Tripod (Compact)
The travel-friendly option. Extends to ~3ft, doubles as a selfie stick, includes a phone clamp and remote. Good enough for daily photos anywhere.
Shop on Amazon →LED Ring Light (10-inch)
Consistent front-facing light that eliminates shadows and lighting variation between photos. Plugs into USB. Makes morning photos look the same regardless of weather or season.
Shop on Amazon →Advanced Photo Gear (Optional)
If you want professional-quality progress documentation — or you're creating content to share your journey — these tools produce significantly better results:
DJI OM Smartphone Gimbal
Motorized stabilization for smooth video and consistent photo framing. Built-in tracking mode. Overkill for daily photos, but perfect if you're documenting your journey on video.
Shop on Amazon →Wall-Mount Phone Holder
Mount your phone permanently at the right height and angle. No tripod to set up — just place your phone in the mount, set the timer, and stand on your floor mark. Maximum consistency.
Shop on Amazon →Softbox Lighting Kit
Two softbox lights eliminate harsh shadows completely. Professional-grade flat lighting for progress photos that are genuinely comparable over time. ~$30 for a 2-pack.
Shop on Amazon →Floor Position Marker Tape
Mark exactly where to stand with a small X of gaffer tape. Removable, no residue. Combined with a fixed phone mount, this guarantees identical framing for months.
Shop on Amazon →As an Amazon Associate, I earn from qualifying purchases. Product links on this page are affiliate links — they cost you nothing extra.
Free Calorie Tracking Apps
If you prefer digital tracking but don't want to pay, these free tiers are genuinely useful:
- Cronometer (Free) — Full calorie and micronutrient tracking with the most accurate food database available. The free tier is more generous than most apps' paid tiers.
- MyFitnessPal (Free) — Basic calorie logging and barcode scanning. Macros are paywalled, but if you only need total calories, it works.
- Lose It! (Free) — Clean interface, calorie tracking, weight graphing. The free version covers the essentials.
- FoodNoms — iOS only. Privacy-first, no account required, USDA database. Completely free, no premium tier.
- Apple Health / Google Fit — Already on your phone. Tracks steps, active calories, and weight if you enter it manually. Not a food tracker, but it's the free baseline.
Free Measurement Methods
- String & ruler — Wrap a piece of string around your waist or hips. Mark it. Measure the string with a ruler. Free, accurate, repeatable.
- Clothing fit test — Pick a pair of fitted jeans or a belt notch. Try them on weekly. This is the oldest body recomposition metric and it's completely free.
- Bathroom scale — Even the cheapest mechanical scale gives you a daily number. Track the 7-day average on paper or in a free spreadsheet.
- Google Sheets / Apple Numbers — Free spreadsheet to chart your weight over time. Plot the 7-day rolling average to see your actual trend through daily noise.
🎯 The Minimum Effective Toolkit (Free)
A bathroom scale + a piece of string + your phone's camera + a free calorie app. That's four tools, $0, and you have everything you need to lose weight, track your body composition, document your progress, and count your calories. Everything else is a convenience upgrade.